/prod01/wlvacuk/media/departments/digital-content-and-communications/images-2024/240328-Varsity-Line-Up-Resized.jpg)
/prod01/wlvacuk/media/departments/digital-content-and-communications/images-18-19/220325-Engineers_teach_thumbail.jpg)
/prod01/wlvacuk/media/departments/digital-content-and-communications/images-2024/240423-Additive-Research-Centre-Launched.jpg)
/prod01/wlvacuk/media/departments/digital-content-and-communications/images-2024/240320-Uzbekistan-Resized.jpg)
/prod01/wlvacuk/media/departments/digital-content-and-communications/images-2024/240229-The-Link-Resized.jpg)
/prod01/wlvacuk/media/departments/digital-content-and-communications/images-2024/240423-Arts-Connect-Resized.jpg)
How to access 'Manage Team' options
There are a number of options available to Team Owners within the Manage Teams menu which can be configured to customise the Team.
 |
Select the Teams icon from the left hand menu bar |
 |
Select the More options button |
|
|
Select Mange team.
From the More options menu, you can also
|
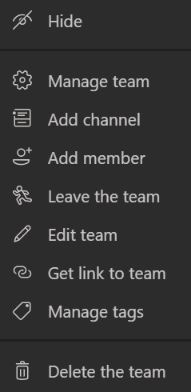
Once you have selected 'Manage team', the console will display the different features the Team owner can view and amend.
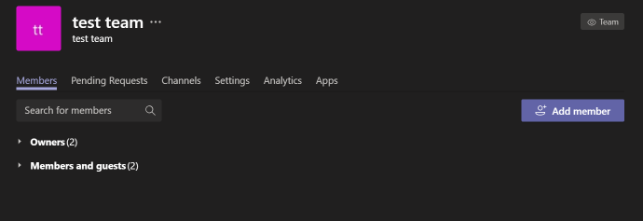
Members allows the Team owner to amend the membership of the Team, including Guest members. This option is also visible to members.
Pending Requests shows any pending requests to join the Team. This is only visible to Team owners.
Channels provides an overview of the different channels the Team has, including any private ones. Channels are viewable to both members and owners, but members can only see a private channel when they are a member of that private channel.
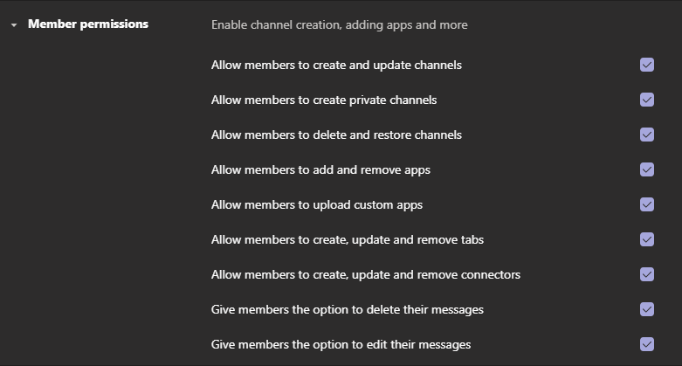
Settings enables Team owners to customise their Team, including setting what members are able to do in a Team. This is only visible to Team owners.
Analytics gives usage data of channels in the Team over three set periods - either 7, 30, or 90 days. This is only available for Team owners.
Apps shows a list of all apps linked to the Team, and is visible to both owners and members.
How to accept or deny Pending requests to join a Team
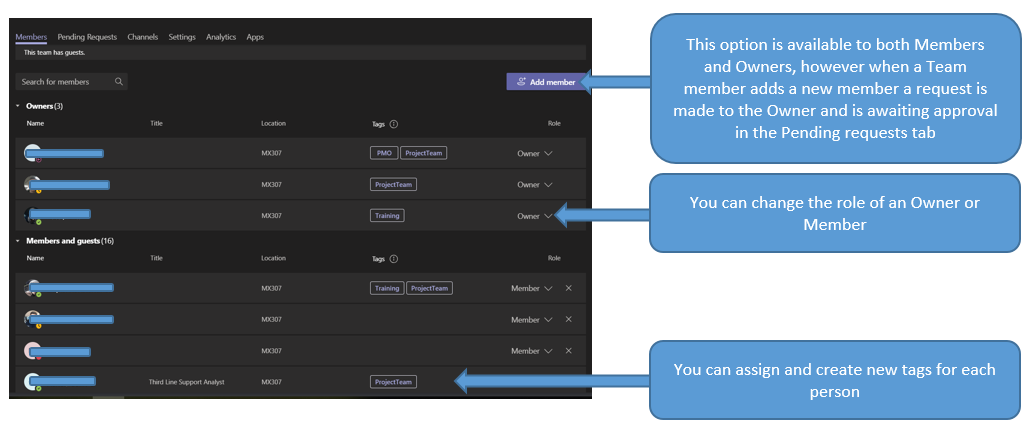
Team members can send requests to add new members to the Team. When a request is made the Team owner will receive an email outlining who has made the request and who the request is for. The Team owner will then have the option to accept or deny the request.
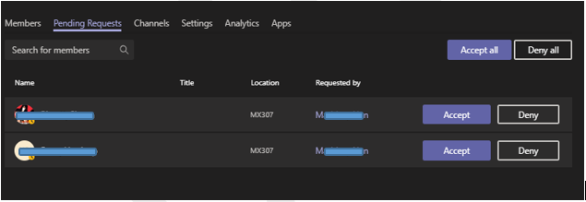
Owners can also view all requests made for their Team in the Pending Requests tab. From here, you can Accept or Deny the request.
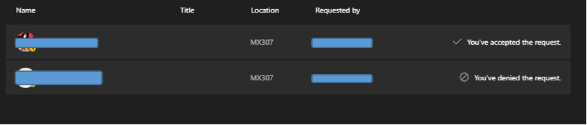
Once you have accepted or denied the request, you will receive a confirmation.
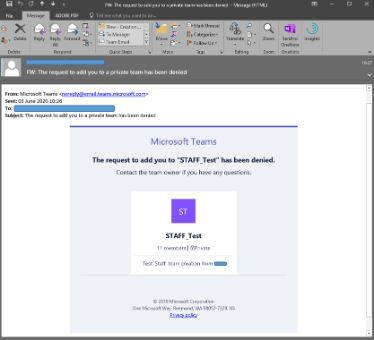
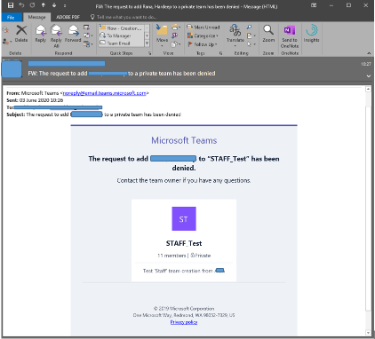
When a request is denied, both the requestor and the member they requested to join the Team will receive an email informing them of this.
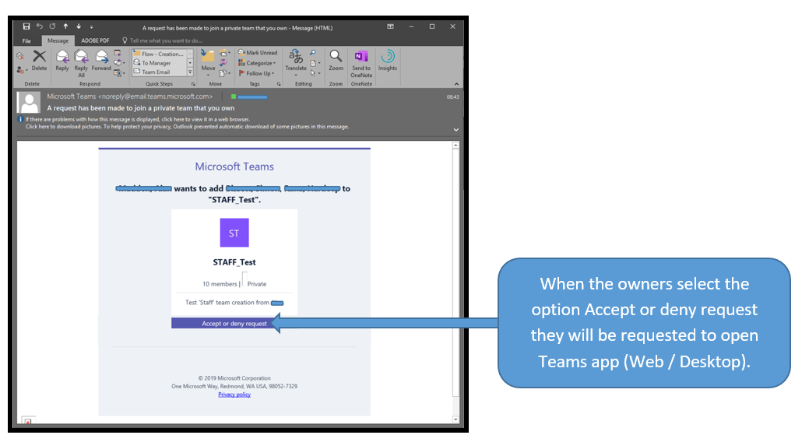
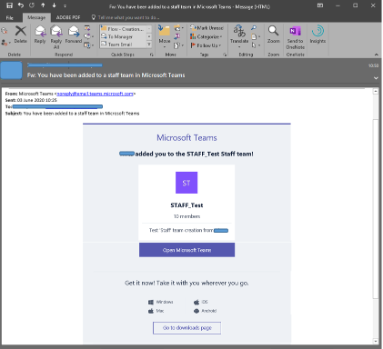
When a request is accepted, the user will receive the following email with an option to open Teams.
The Channels option shows all channels that have been created, and any private channels that you are a member of. The channel list is broken into two sections; Active channels and Deleted channels.
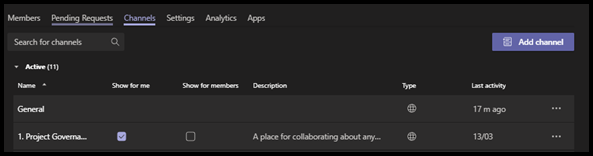
The table will provide an overview of each channel, including
- Name of the channel
- Show for me - if this is selected the channel will be visible to the user, if not then it will be a hidden channel
- Show for members - Team owners can only see this option as they can decide if a specific channel is visible to members.
- Description provides a description of the channel and can be amended via the more options for each channel.
- Type shows if the channel is Public or Private - please note that you cannot current change a private channel to a public channel or a public channel to a private channel
- Last activity shows when the channel was last in use
- More options offers some more configuration options for channels
 |
 |
 |
| If a channel has this icon, it is a Public channel | If a channel has this icon, it is a Private channel | Use the More options button to access more configuration options |
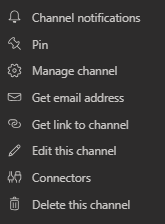
The More options menu gives some more configuration options for your channels.
- Channel Notifications – Allows you to change how you are notified of any updates in a channel
- Pin – Allows you to pin the channel so it is easy to access
- Manage Channel – options for channel moderation and to manage who can start a new post in the channel
- Get email address – provides a channel email address so anyone can email the whole channel directly
- Get link to channel – provides a link to the channel so anyone can join the channel using this link (only available for public team channels)
- Edit this channel – allows you to change the name and description of the channel
- Connectors – add or configure connectors (also known as apps)
- Delete this channel – PLEASE NOTE: once you delete a channel, you also lose its entire conversation history. However, the OneNote sections associated with that channel will still show up on your Team's SharePoint site.
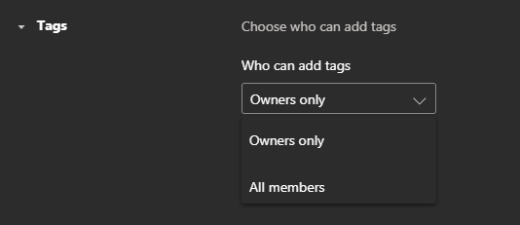
How to manage the available settings for your Team
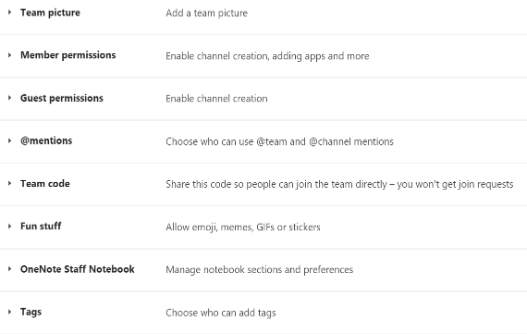
Use the arrows by each heading when you access the menu to toggle further configuration options.
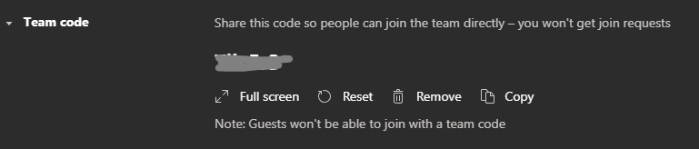
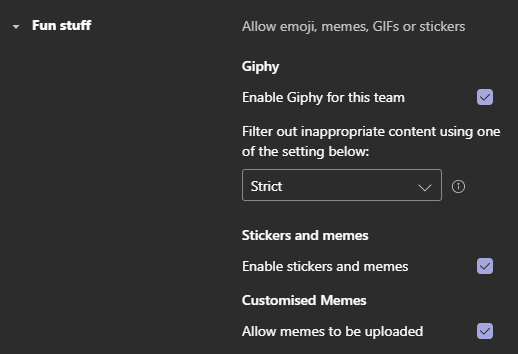
Team picture | Member permissions | Guest permissions | @mentions | Team code | Fun stuff | OneNote Staff Notebook | Tags
How to change your Team picture
By default, Teams will take the first two letters of your team name to display as your Team picture. Your Team picture is used as an icon to represent your Team across Teams.
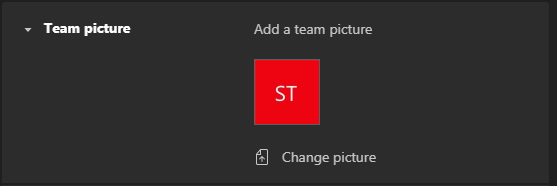
Select Change picture to customise your Team picture. You will be presented with the following screen to either select a Microsoft Team picture or upload one from your computer. If uploading your own picture the recommended file types are either a .png, .jpg, or .jpeg.
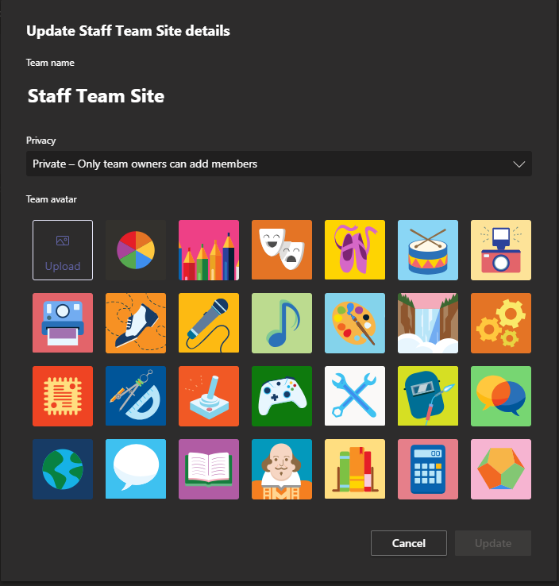
You can also amend your Team name or the Privacy of your Team in this menu.
When you have chosen your new Team picture, make sure you select Update to ensure the changes are made.


How to set up and manage your OneNote Staff Notebook
A staff notebook is a great space to collaborate and work on notes with colleagues. A staff notebook is generated with every Team that is set up, but you will need to set it up to make use of it.
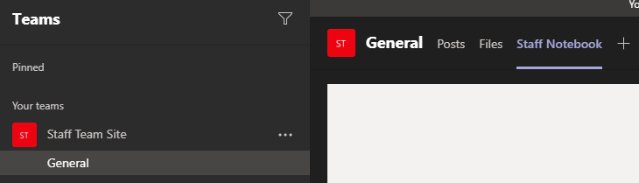
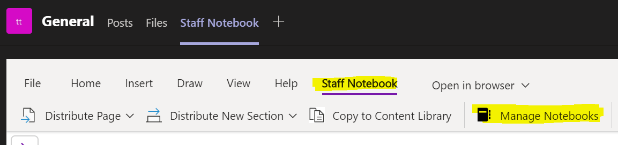
First, go to the General channel for your Team, and select Staff Notebook
You will then need to select Set up a OneNote staff Notebook.

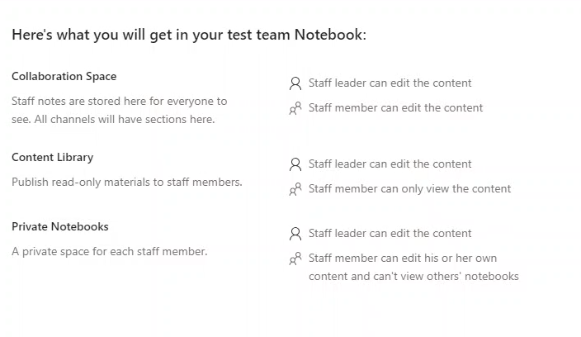
Click Next at the next information screen.
Next you will have the option to add or remove a section from each staff member's OneNote for the Team. Select Back to go back a step or Discard to remove any changes you have made.
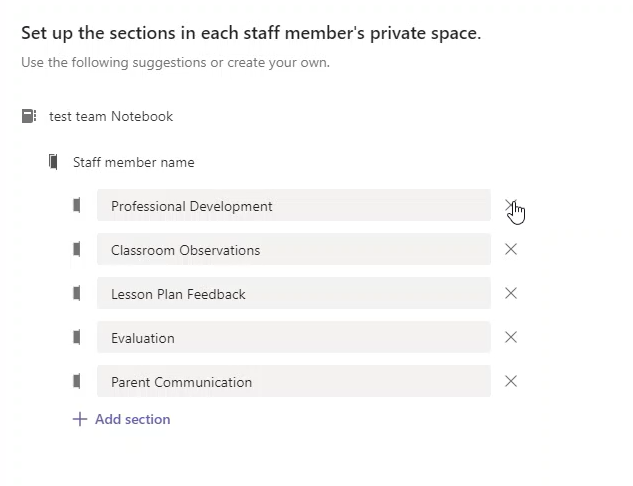
Once you are happy, click Create to continue
Once your notebook has been created, you can then start using it
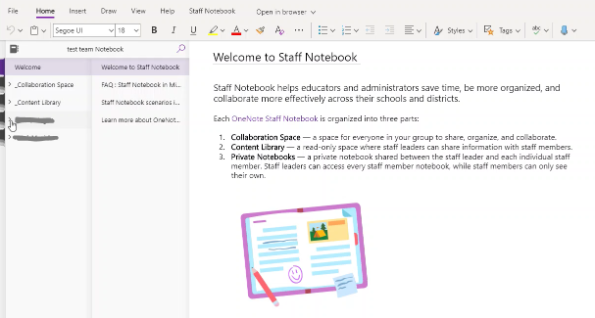
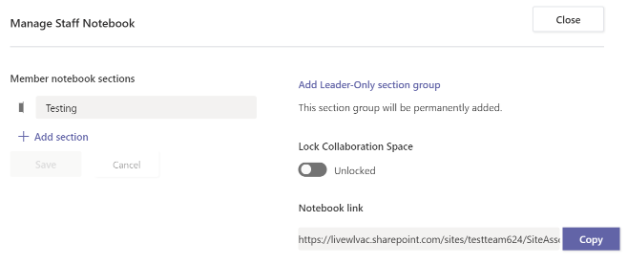
To manage the preferences of your Staff OneNote Notebook, select Staff Notebook in the General channel of your Team, and then select Manage Notebooks
You will then be shown a list of options to manage your Staff Notebook
How to access your Team analytics
Team analytics will display a usage report for the Team. These can be filtered on all channels or individual channels, and date range – 7, 30 or 90 days. Each analytics report will be broken down into different categories, and can be seen by Team owners and members.
The different reports help gain an awareness into how members are making use of the Team. It also allows Team owners to gain a better understanding of usage patterns and can even aid in training.
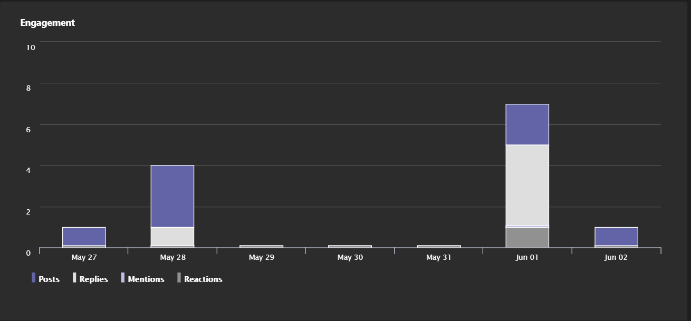
Summary and Engagement Report

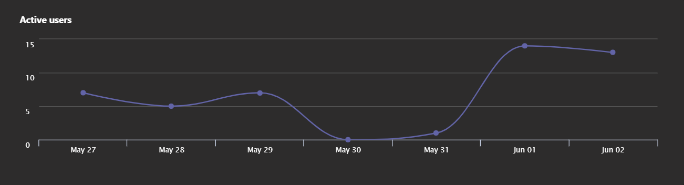
Role and Active Users Report

Active User Report
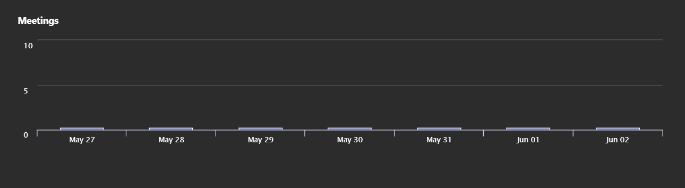
Meetings
Engagement
View the different apps that are associated with your Team. When a Staff Team is setup some apps are installed by default. You can uninstall apps from here or install new ones.
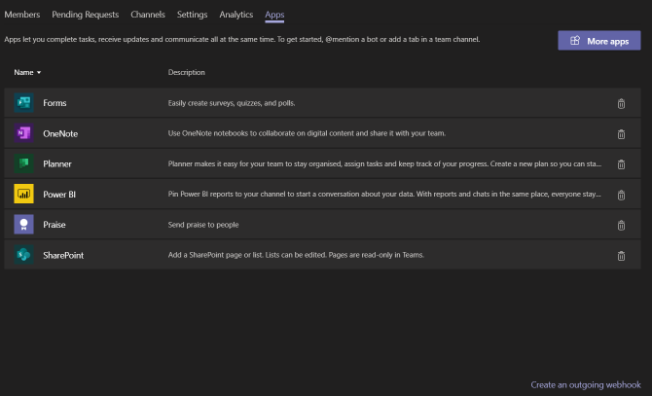
For more information on Apps for Microsoft Teams please see Apps and services.